How to fill application forms with the getfund Chrome extension
The getfund extension writes the answers you prepared on getfund into a program's own application form in Chrome. It never submits the form: you check every field and press the form's own submit button yourself.
Before you start
- The Autopilot plan: the extension fills forms on it.
- A saved program with an application whose answers are prepared on getfund.
- Chrome on a desktop computer.
Step by step
Add the extension to Chrome
Press Add from the Chrome Web Store on the Chrome extension tab of Autofill in your account, then pin getfund from the puzzle icon so it is one click away.
If you cannot use the store, press Download the zip (version number shown) on the same tab and install it by hand: unpack the zip into a folder you will keep, open chrome://extensions in a new tab, turn on Developer mode in the top right corner, then click Load unpacked and choose the unpacked folder. Chrome shows a developer mode warning each time it starts; you can ignore it.
Create a key and connect
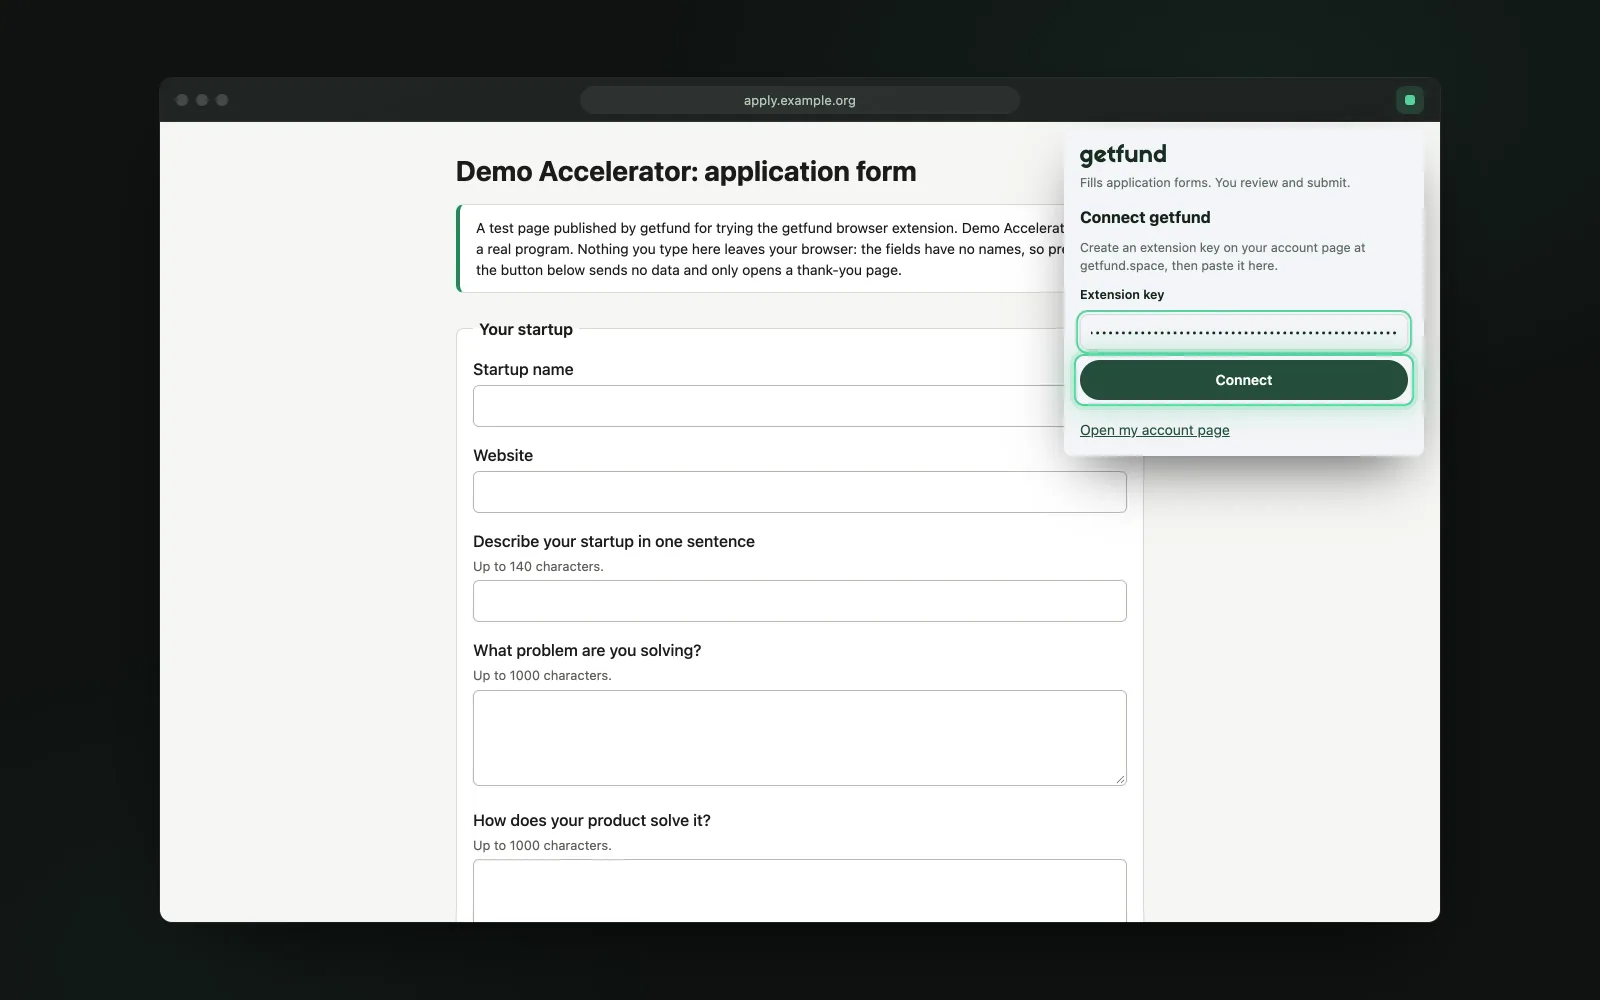
Open Autofill in your account, switch to the Chrome extension tab, create a key and copy it. The key is shown once. Open the extension, paste the key and press Connect. When it works the popup shows your account and the tab shows the key as used.
Open the form and press Fill this form
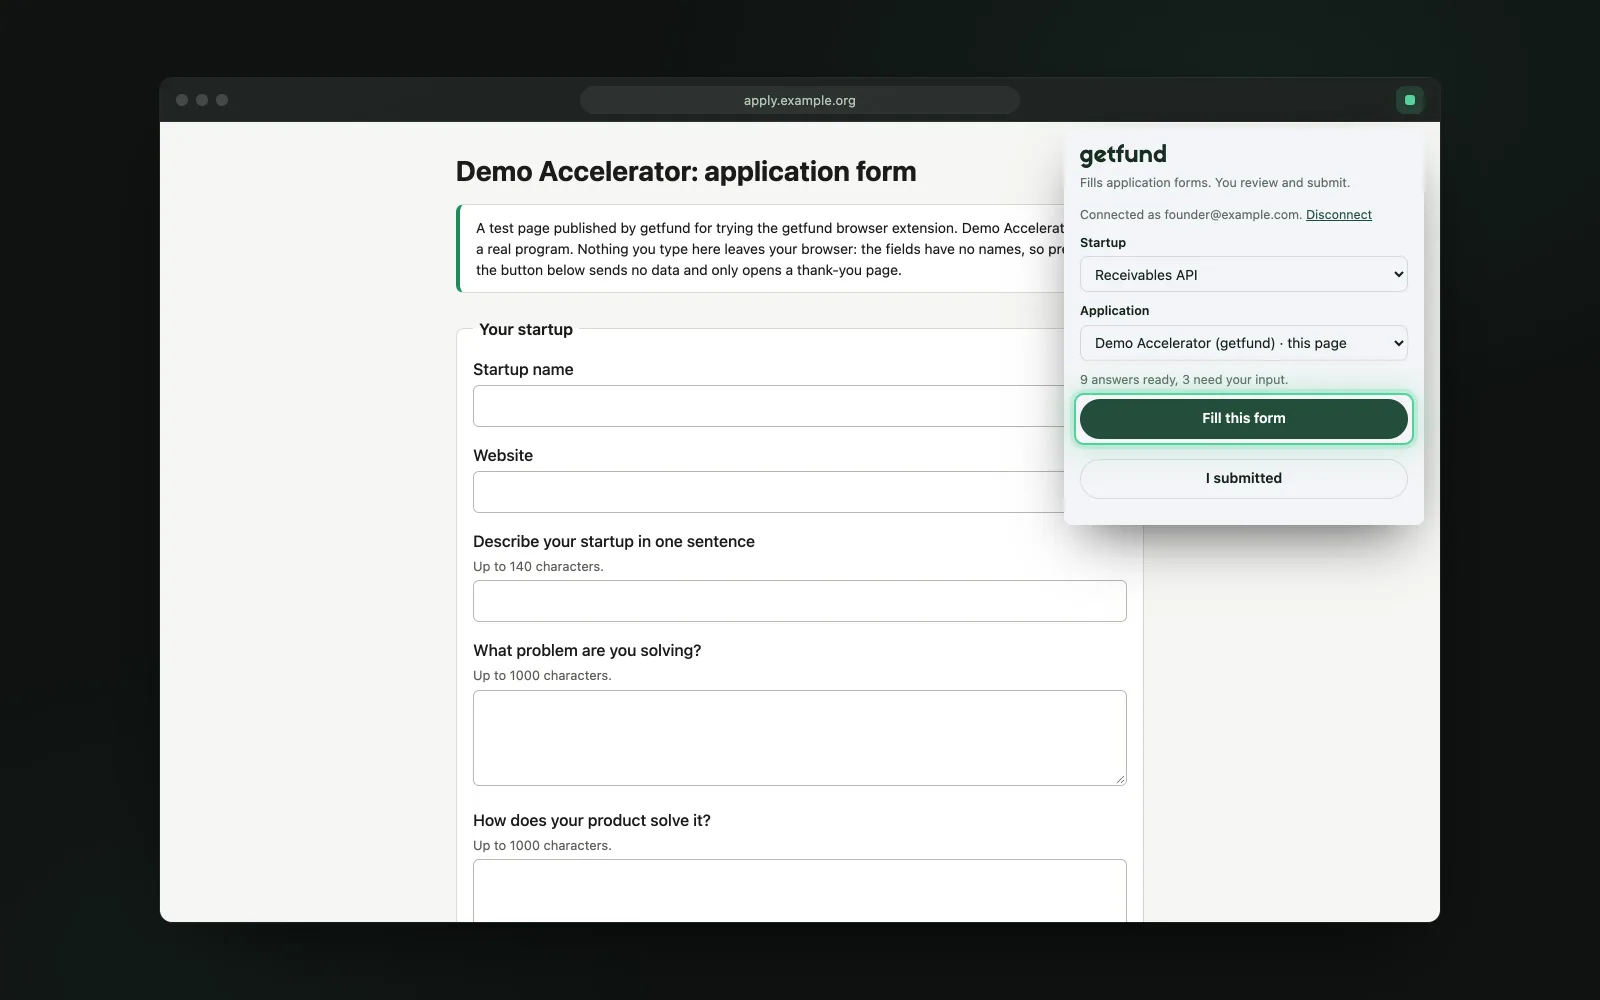
Open the program's application form in Chrome, then open the extension. It matches the page to one of your applications and shows how many answers are ready and how many need your input. Check the application it picked, or pick the right one from the list, then press Fill this form.
Read the report and answer what it left for you
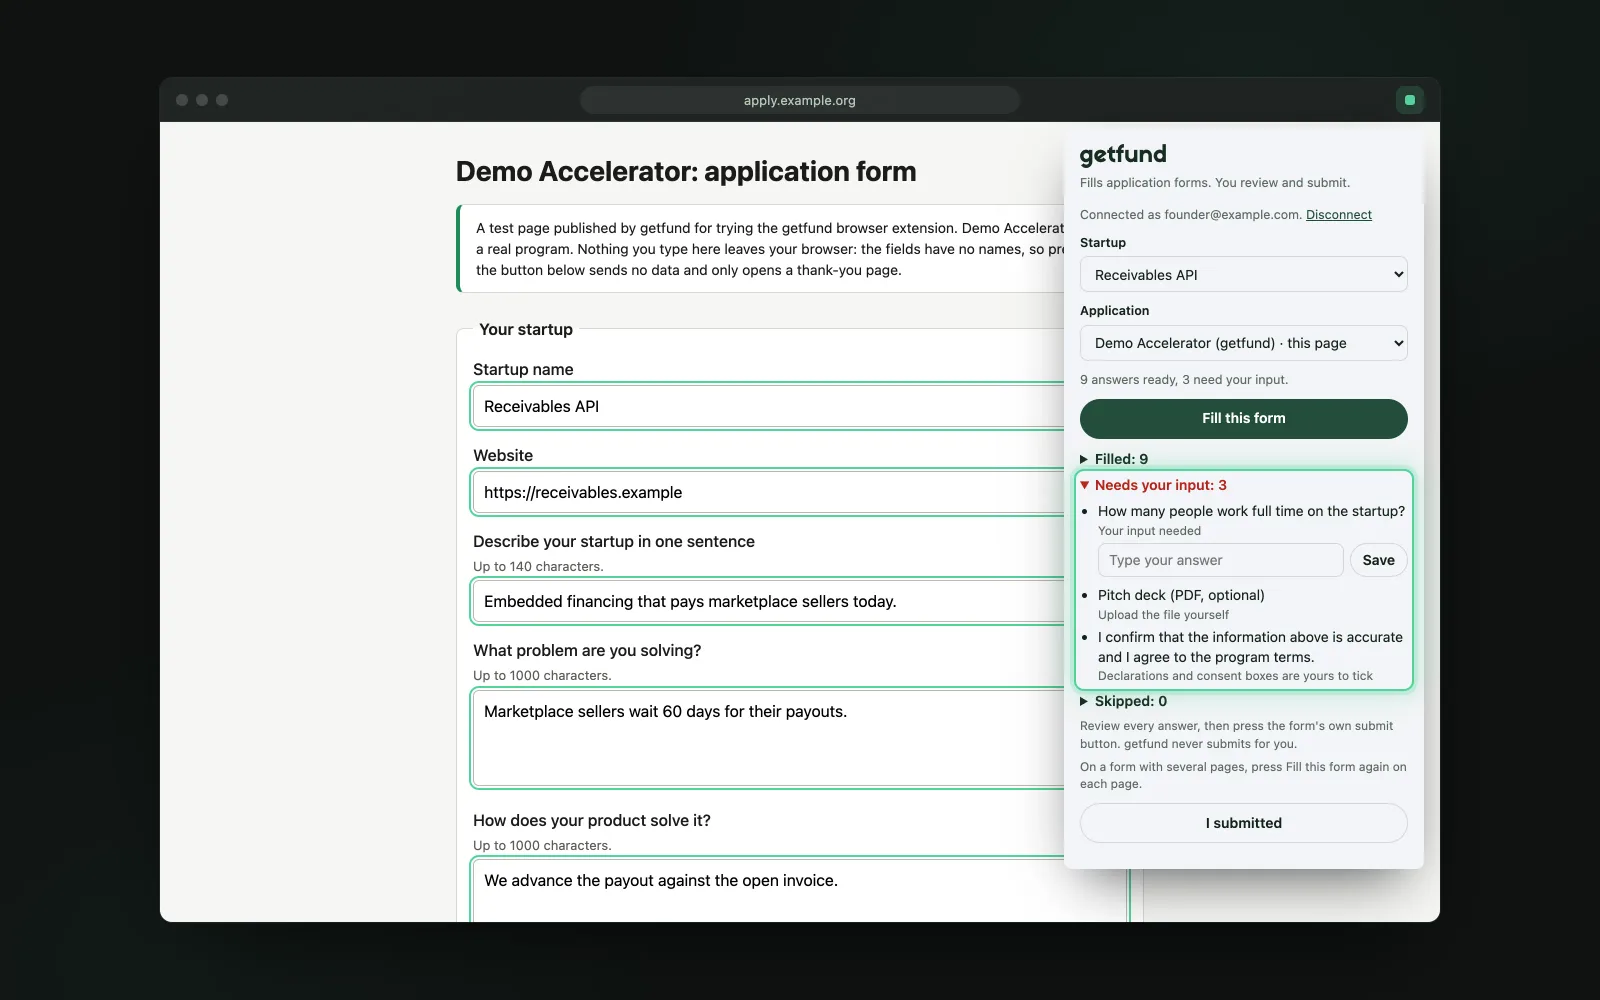
After a fill the popup shows how many fields it filled, how many need your input and how many it skipped, each with its reason. For a radio, checkbox, dropdown or text question without an answer, type it in the popup and press Save: the extension saves it for this application and fills the page again. Time inputs are not scanned yet, so fill those on the page yourself. On a form with several pages, press Fill this form again on each page.
Review and submit on the site yourself
Review every answer on the page, fill whatever is still empty, then press the form's own submit button. The extension never presses it for you.
The receipt moves the program to Applied
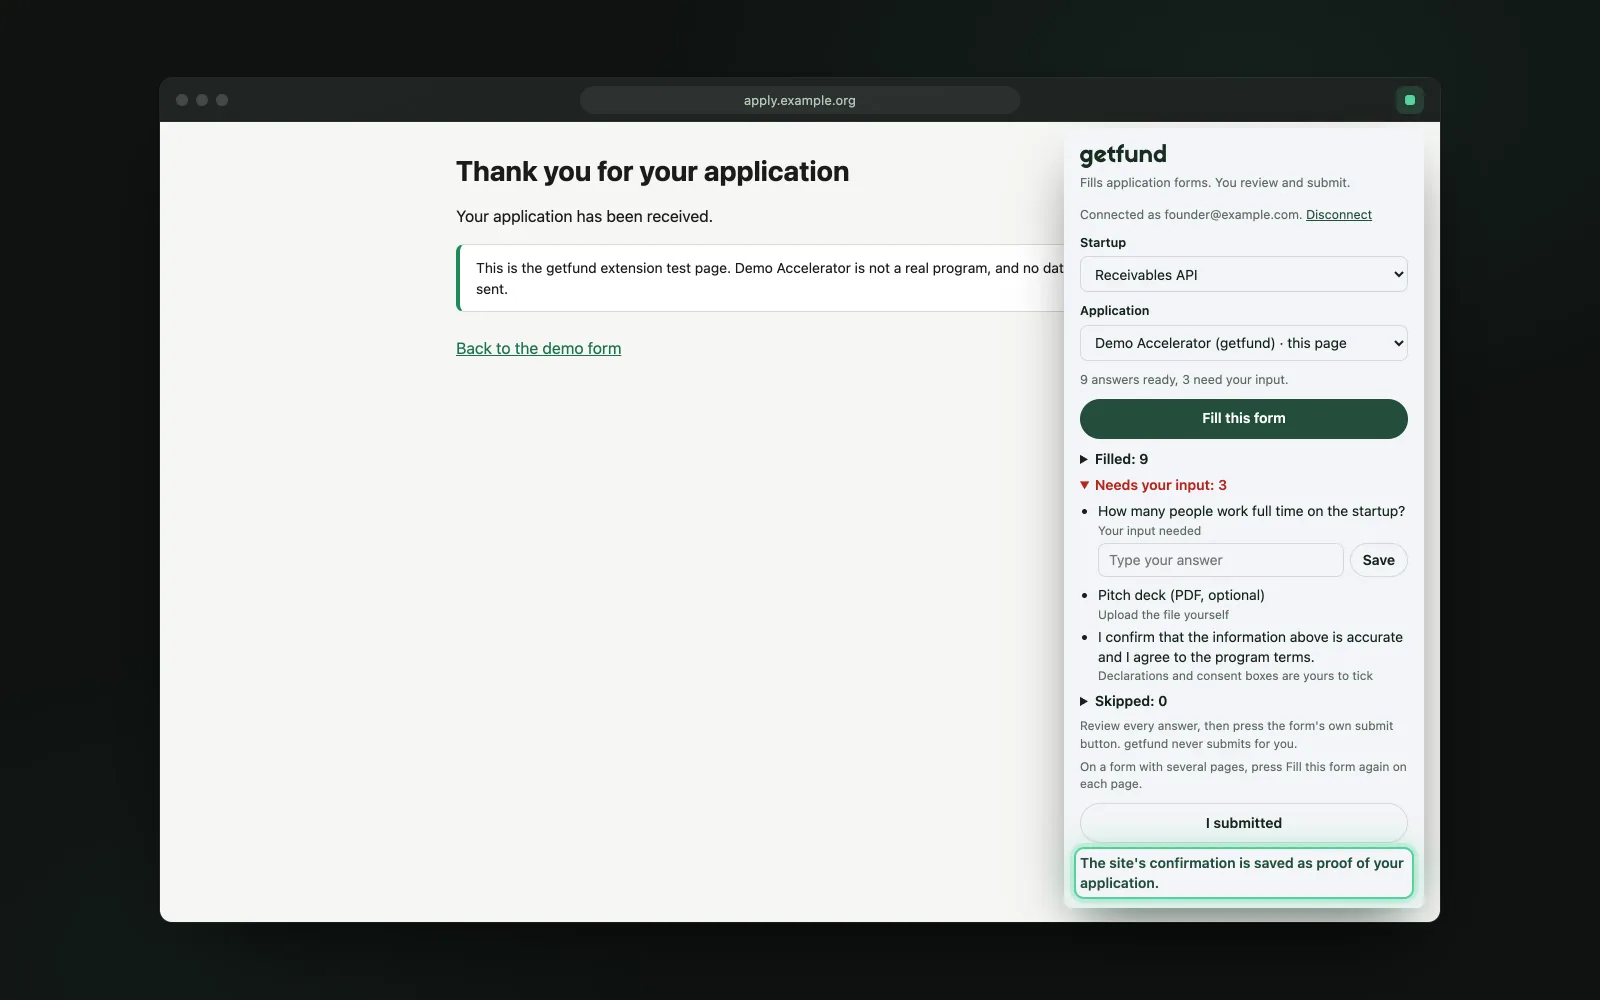
When the site shows its confirmation page, the extension saves it as proof of your application and getfund moves the program to Applied in your list.
Supported form platforms
The extension reads any form on the page. It has extra help for these platforms:
- Typeform
- Google Forms
- Microsoft Forms
- Jotform
- Airtable
- SMApply
- Submittable
- F6S
- Gust
- HubSpot
Other forms: the generic reader fills labelled fields on any other site.
Troubleshooting
No application matched
The popup says there is no application for this page yet. Pick one from the list or press Create an application for this page.
Key rejected
The key was revoked or mistyped. Create a new key on the Chrome extension tab and paste it again.
Needs the Autopilot plan
Filling forms is part of that plan, so the popup shows See plans until you have it.
A captcha or a sign-in wall stops the fill
Finish it on the page, then press Fill this form again. The extension never solves a captcha.
A field stayed empty
The popup lists it with its reason, for example a file upload, a consent box or a question that needs your own answer. Fill those yourself.
What the extension never does
- It never presses submit, pay, captcha or next page buttons.
- It never touches passwords, declarations or consent boxes. It attaches a file only from My documents, only after you press Attach files, and never submits the form.
- It never fills a question that needs your own input.
Frequently asked questions
Is my data sent anywhere else?
No. The extension asks getfund for the answers of the application it matched and writes them into the page you have open. It does not send your answers to the form's platform on its own.
What does the key allow?
It lets the extension read your applications and their prepared answers, save an answer you type in the popup and record that you submitted. It does not let anyone sign in to your account. Revoke it any time.
Does it work in Brave or Edge?
It is built for Chrome. Browsers built on Chromium, such as Brave and Edge, can usually load Chrome extensions, but only Chrome is tested.
What happens when I revoke the key?
The extension that used it is disconnected at once and shows a message to create a new key. Your applications and answers stay in your account.
Why does it not press submit?
You answer for what is sent in your name, so you check every field first. The extension only writes answers and leaves the form's own submit button to you.
Try it on your own application
Open Autofill in your account to set up the extension or the agent assistant. Both work on the Autopilot plan.